
Join THE ONENESS NEWSLETTER for insights + 6 months free Q&A
Join Newsletter
30% off digital course + weekly insights from LD
Heal Naturally
Without Effort. Without Complexity.
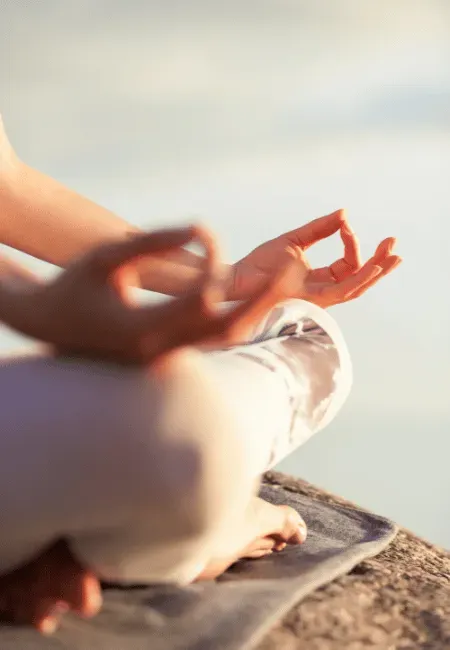
Non-Doing. Just Being.
Experience a time-tested path to physical, mental, and emotional healing, rooted in ancient wisdom, built for true transformation.
AS FEATURED IN:


As Featured In:


Lorem ipsum dolor sit amet, consectetur adipiscing elit. Sed rutrum eleifend mauris.
Clients Name
Lorem ipsum dolor sit amet, consectetur adipiscing elit. Sed rutrum eleifend mauris.
Clients Name
Lorem ipsum dolor sit amet, consectetur adipiscing elit. Sed rutrum eleifend mauris.
Clients Name
***THE FOYER***
What Do You Need Help With Today?

Chronic Illness
Mental & Emotional Struggles
Burnout & Life Disconnection
***TRUST BUILDER***
Still Suffering?
Tried Everything?
Maybe it’s time to go deeper.
You’re not alone.
***TRUST BUILDER***
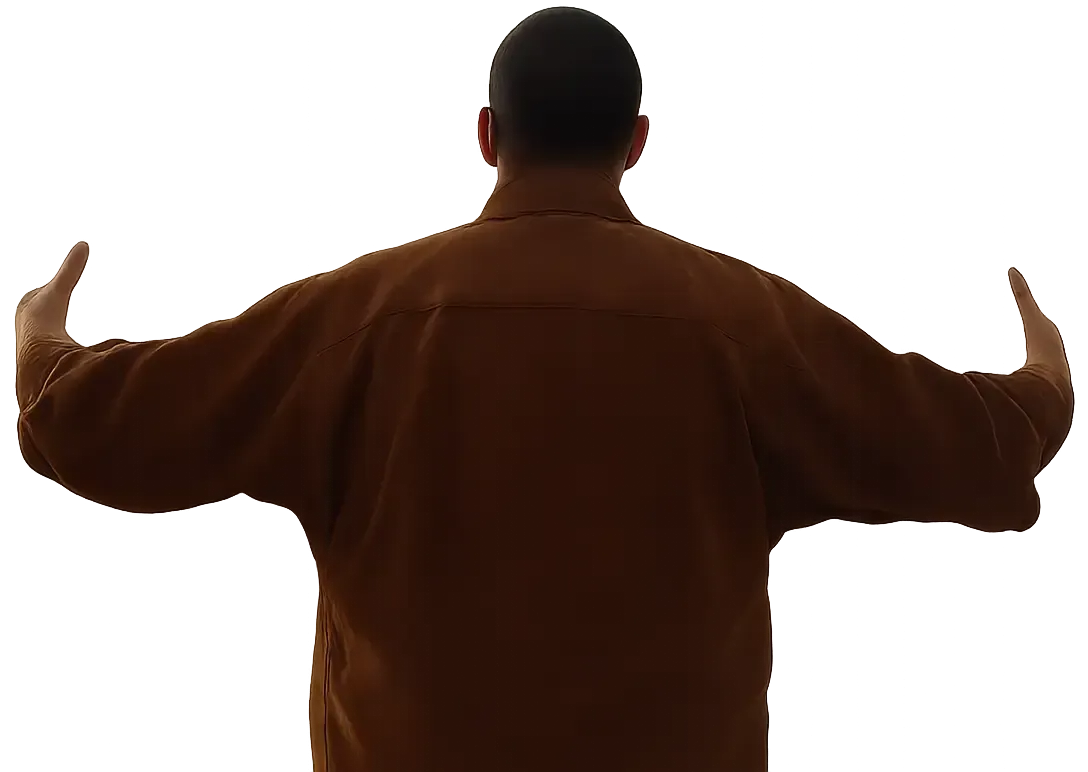
I’ve been where you are.
From the outside, I looked successful.
But inside, I was quietly falling apart—
A heart attack at 32.
Asthma. Chronic pain. Anxiety. Burnout.
Liver disease, Leg numbness.
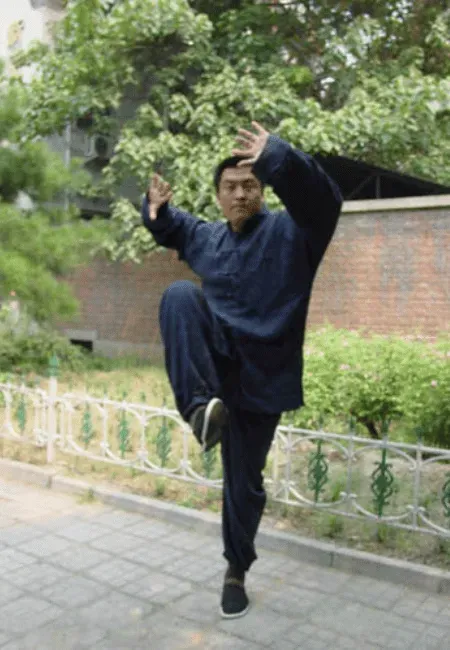
I tried everything:
Top doctors, prescriptions, Taiji, daily workouts…
Nothing worked—
But I didn't give up
Then one day, my Taiji teacher told me about Oneness.
A book didn’t just heal me—
It opened a new way to live.
What I found was ancient.
Simple.
Real.
***TRUST BUILDER***

It’s called
Oneness
***TRUST BUILDER***
My symptoms disappeared.
My body healed.
My mind cleared.
My energy returned.
And now, my family, friends, and students all say the same thing:
“I can’t believe something this simple saved me.”
That’s the shift.
It’s not another treatment.
It’s a return—to the inner power we’ve forgotten how to trust.
When you unlock that power, real healing begins.
That’s what Oneness reveals.
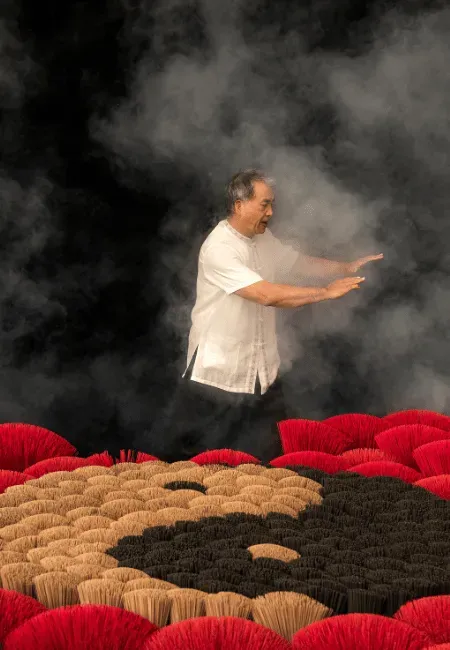
What is Oneness Practice?
For thousands of years,
Oneness was kept secret—passed down quietly and time-tested through generations.
It wasn’t until 1950,
Grandmaster Wang Xiangzhai finally revealed it to the public.
Oneness is limitless.
It’s not just about feeling better.
That’s only the beginning.
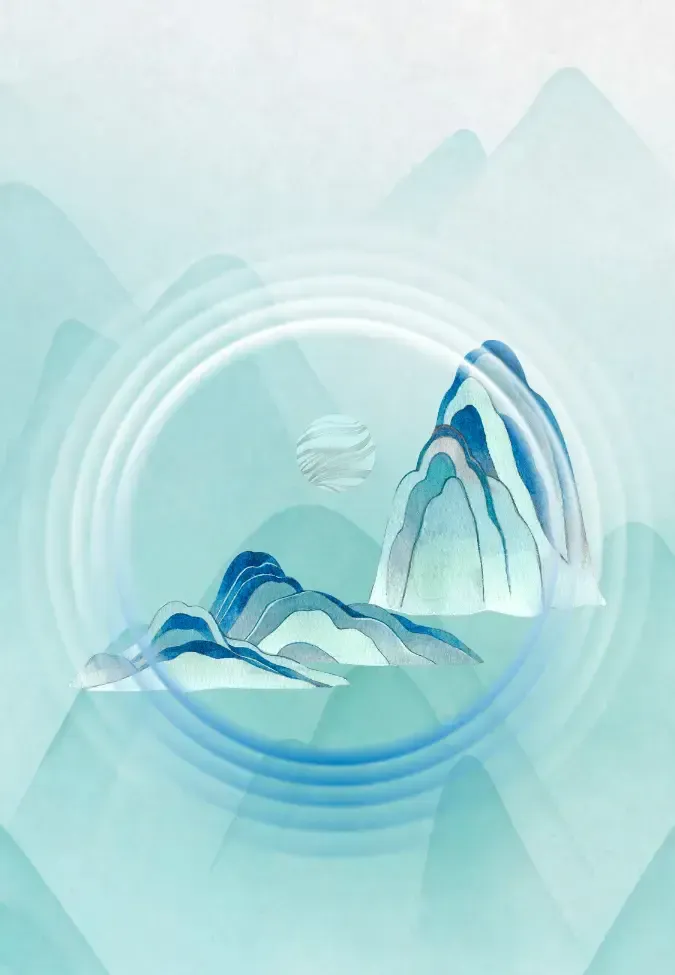
Think of it like climbing a mountain.
At first, you may not see the change—
but you’ll feel the pull.
As you continue, the view expands:
→ Strength in the body
→ Clarity in the mind
→ Openness in the heart
→ A life rooted in meaning and connection
This is who you truly are:
Peace.
Joy.
Wisdom.
Not by becoming.
But by returning—to being.

What Can Oneness Help With?
1. Chronic Illness & Physical Pain
Heart conditions, back pain, joint issues, digestive problems, respiratory diseases, high blood pressure, diabetes, thyroid issues, fatigue, insomnia, and more.
2. Mental & Emotional Struggles
Anxiety, depression, trauma, overthinking, indecision, stress, and negative thought loops, a foggy mind, and difficulty making clear decisions.
3. Burnout & Life Disconnection
Low energy, screen fatigue, bad mood, relationship tension, and feeling stuck, empty, or without purpose.
What is Oneness?
Oneness is limitless.
It’s not just about feeling better.
That’s just the beginning.
Think of it like climbing a mountain.
At first, you won’t see the change—but you will feel the pull.
As you continue, the view expands:
→ Physical healing
→ Mental clarity
→ Emotional depth
→ Relationships that feel aligned
And then—something bigger awakens.
Wisdom. Peace. Joy.
Not from effort. But from stillness.
Welcome to
If you’re still searching, still struggling, still hoping
Oneness might be the path you’ve been waiting for.
Links
Feature Headline
Lorem ipsum dolor sit amet, consectetur adipisicing elit. Autem dolore, alias, numquam enim ab voluptate id quam harum ducimus cupiditate similique quisquam et deserunt, recusandae.
Feature Headline
Lorem ipsum dolor sit amet, consectetur adipisicing elit. Autem dolore, alias, numquam enim ab voluptate id quam harum ducimus cupiditate similique quisquam et deserunt, recusandae.

Feature Headline
Lorem ipsum dolor sit amet, consectetur adipisicing elit. Autem dolore, alias, numquam enim ab voluptate id quam harum ducimus cupiditate similique quisquam et deserunt, recusandae.
Headline Goes Here
Lorem ipsum dolor sit amet, consectetur adipiscing elit. Aenean in urna tristique, dictum mauris eget, elementum massa. Suspendisse imperdiet finibus diam, at molestie est venenatis sit amet.
Client Name
Title/Location
Headline Goes Here
Lorem ipsum dolor sit amet, consectetur adipiscing elit. Aenean in urna tristique, dictum mauris eget, elementum massa. Suspendisse imperdiet finibus diam, at molestie est venenatis sit amet.
Client Name
Title/Location

Headline Goes Here
Lorem ipsum dolor sit amet, consectetur adipiscing elit. Aenean in urna tristique, dictum mauris eget, elementum massa. Suspendisse imperdiet finibus diam, at molestie est venenatis sit amet.
Client Name
Title/Location
***THE FOYER***
What Do You Need Help With Today?
OPTION 1 OFFER HEADLINE

OPTION 2 OFFER HEADLINE

OPTION 3 OFFER HEADLINE

This practice supports healing but is not medical advice. See our Terms & Conditions for full disclaimer.
© 2026 All Rights Reserved | Oneness Institute LLC
PRIVACY POLICY | TERMS & CONDITIONS
Custom Crafted By ExpertSites